Christmas Tree Decorating With Netting
If there is one question that I get the most around the holiday season, it is "How do you decorate your Christmas tree?" Well, I am by NO means a Christmas tree decorating expert, BUT…I do have some tricks that make it much easier for me each year to get that full look that I love! I thought it would be fun to share that with you, step by step!
Have you ever heard the saying, "There is more than one way to skin a cat"? Well, there is more than one way to decorate a Christmas tree- obviously! This is just the way that I do MINE, and I find it to be the easiest way for me!
First, this advice is purely for artificial trees. It doesn't matter how fancy or nice your tree is, it will be covered up in the end, so even if it is looking shabby now, it won't be for long!
Today, I am using a tree that I just did for a client. I decided to take pictures along the way so that I could show you the process!
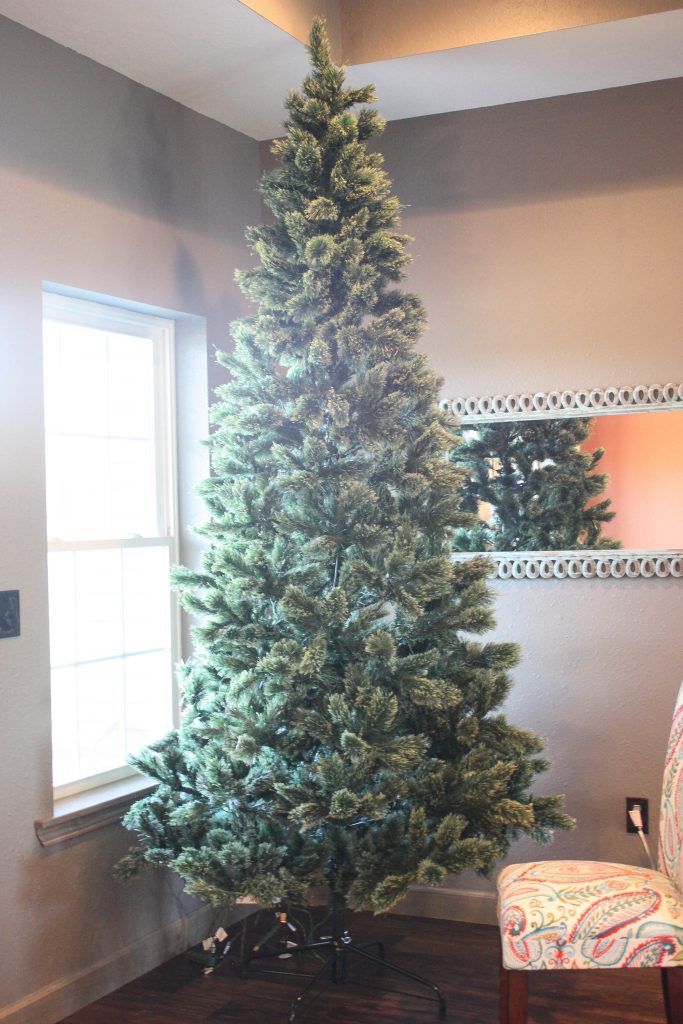
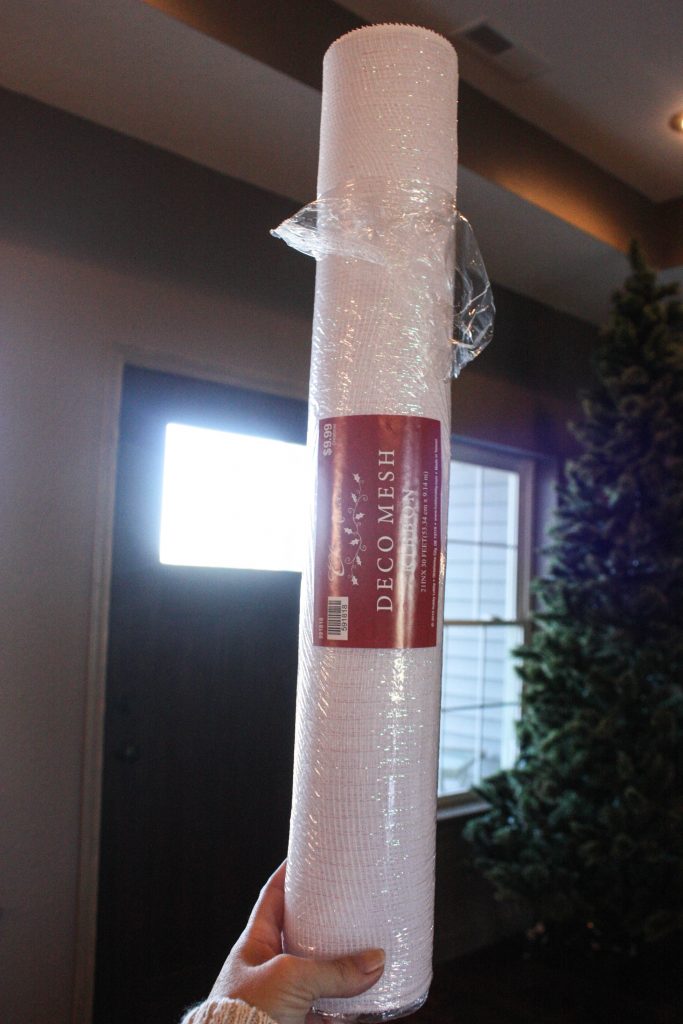
After your tree is set up and all of your lights are in place, we will start with the KEY part to a full tree- the RIBBON! The way that I have found to be the easiest is to start with a very wide, deco mesh ribbon roll or some other kind of wide ribbon. Deco mesh is very easy to work with! This roll was $5 at Hobby Lobby and it did the full tree in 2 spots, where I wanted it.
Do NOT cut the ribbon. Simply start at the top of the tree, gather the end together and wrap it around a piece of the branch deep in the tree (they usually have wire, which makes it easy to wrap around) and start going down the tree, gathering large bunches together and sticking them into the tree and wrapping around a branch. When you get to the very bottom of the tree, cut your ribbon and tuck the bottom part in the tree and wrap it up in there. Then, start again on another area of the tree. Keep doing this until you are ready to start with a different type of ribbon or you are finished using ribbon on the tree. Use the same process with your next ribbon, if you chose to use 2 different kinds (or more).
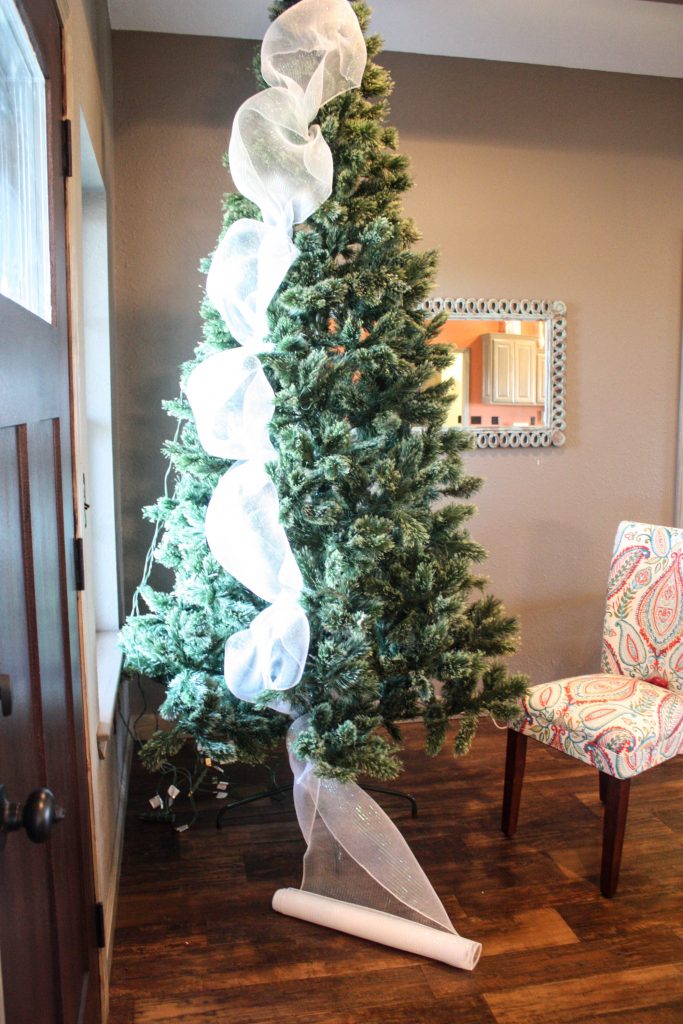
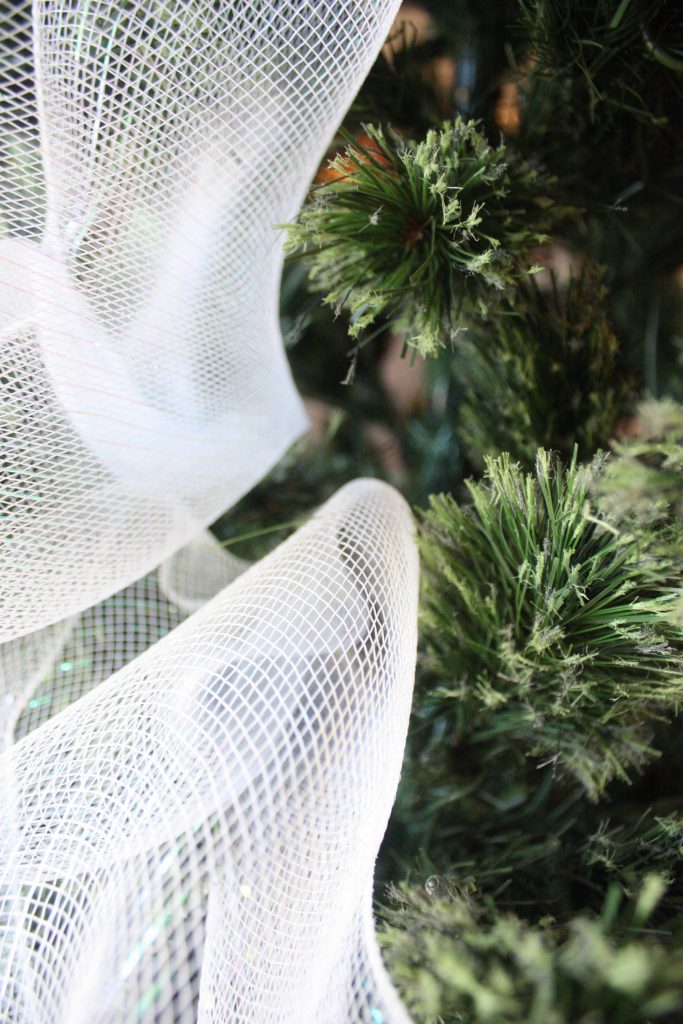
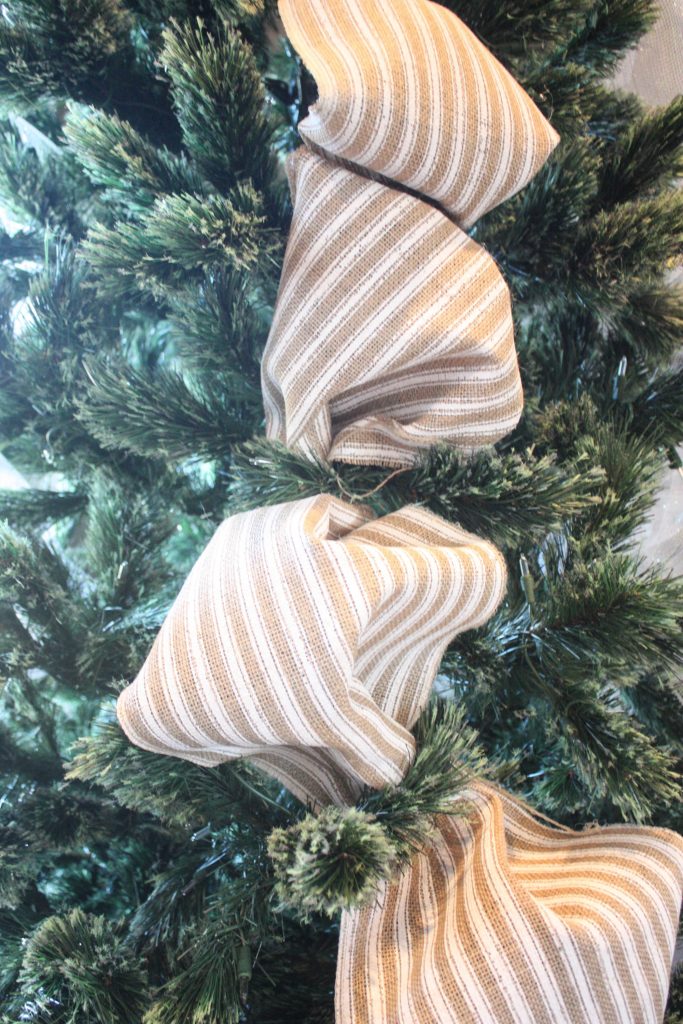
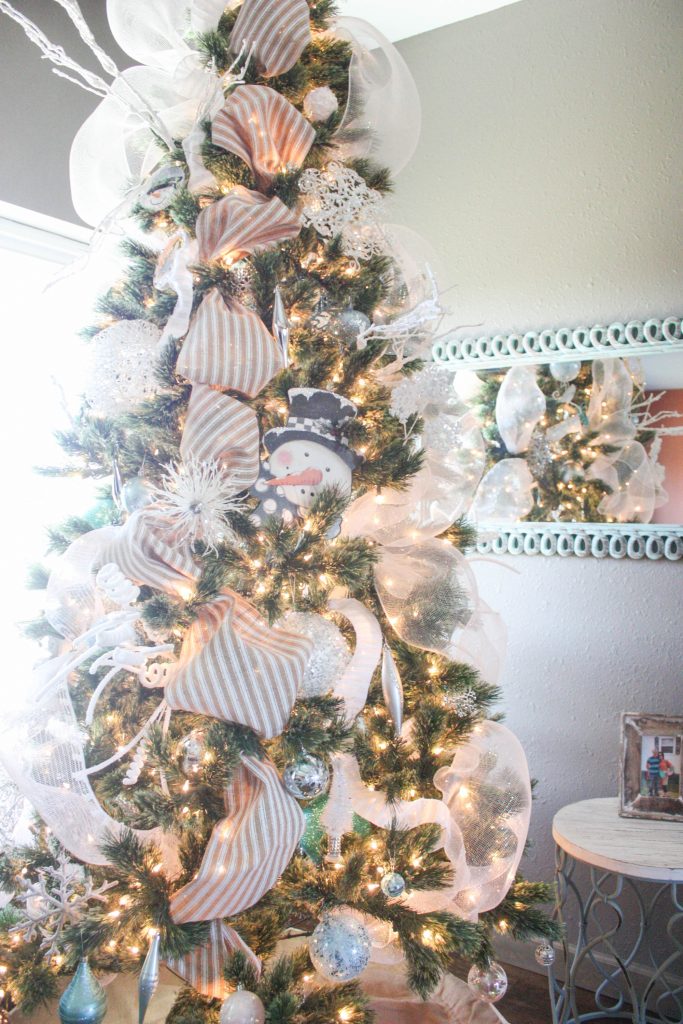
This is what it will look like when you are done with the ribbon portion.
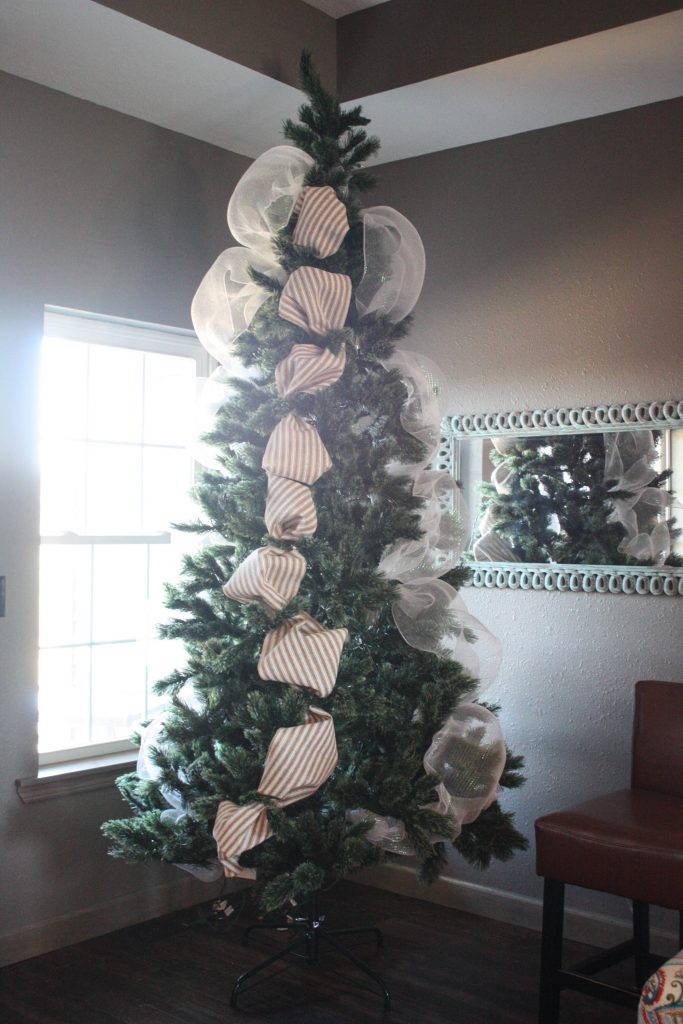
After the ribbon is finished, I always start with my BIGGEST ornaments and signs. These are another key element in creating a full tree. Use several large items! **You do not have to use ornaments. Get creative! Use fun signs, frames, anything!** Just hang them all over the tree in different areas, to make it balanced.
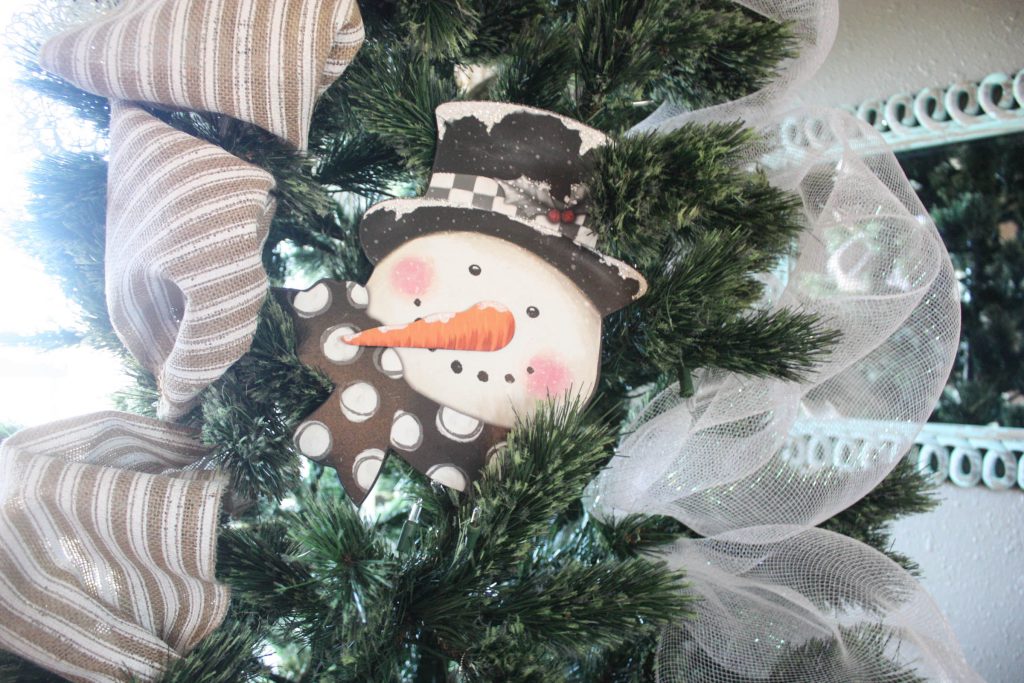
I used some really large ornaments on her tree, along with this really cute snowman wall hanging that I found!
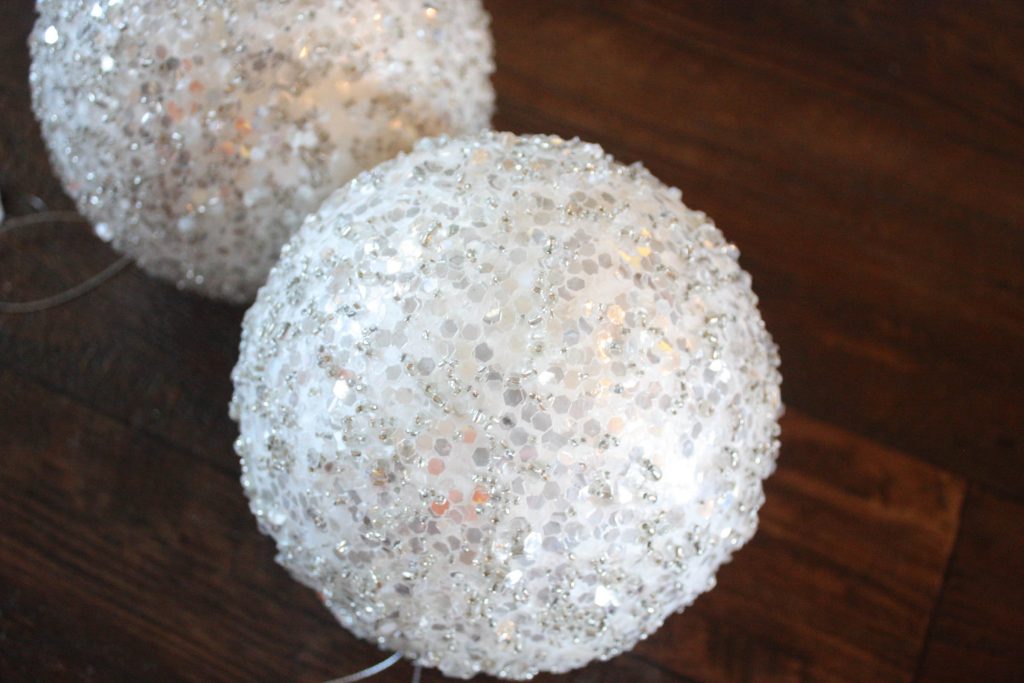
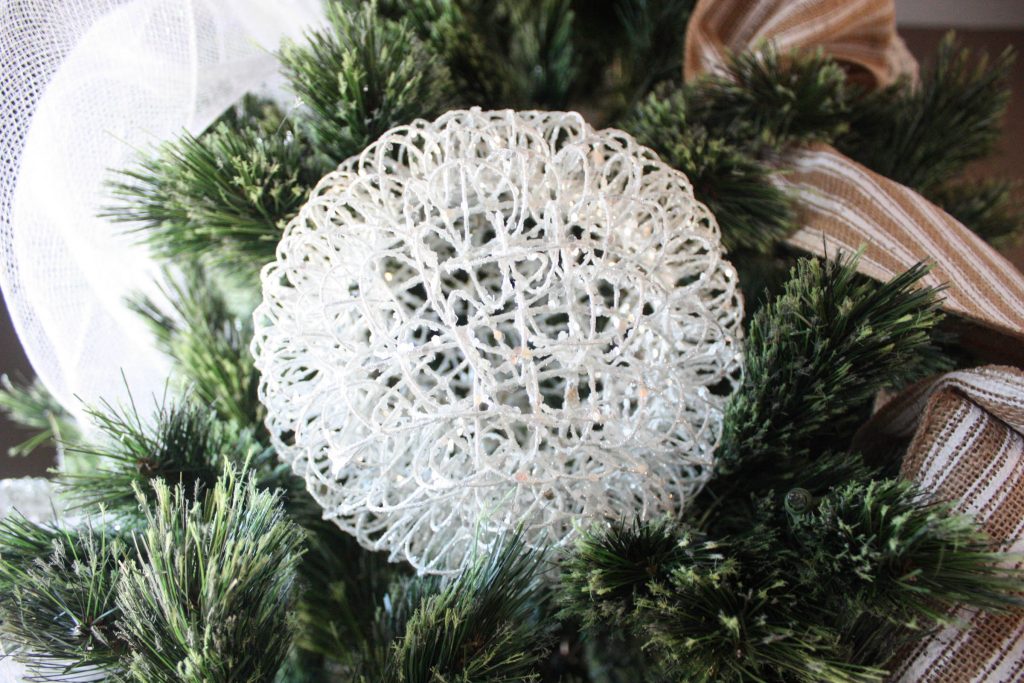
After using your largest ornaments, I simply keep going through all of my ornaments from largest to smallest. I like to hang all of the smaller ones at the end (such as little balls or icicles) , to fill up space.
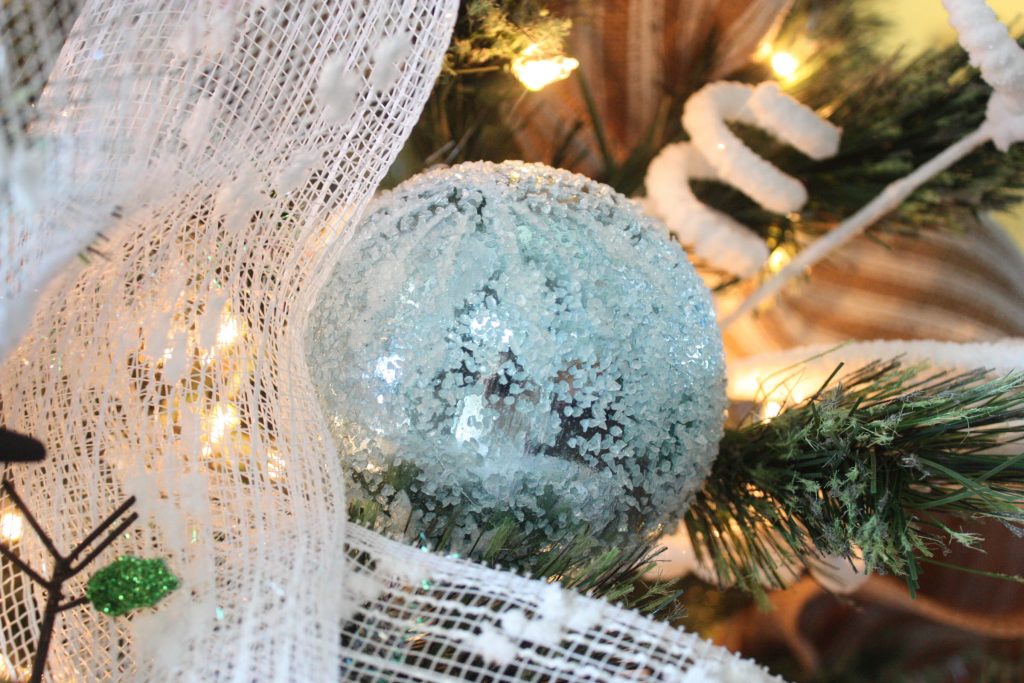
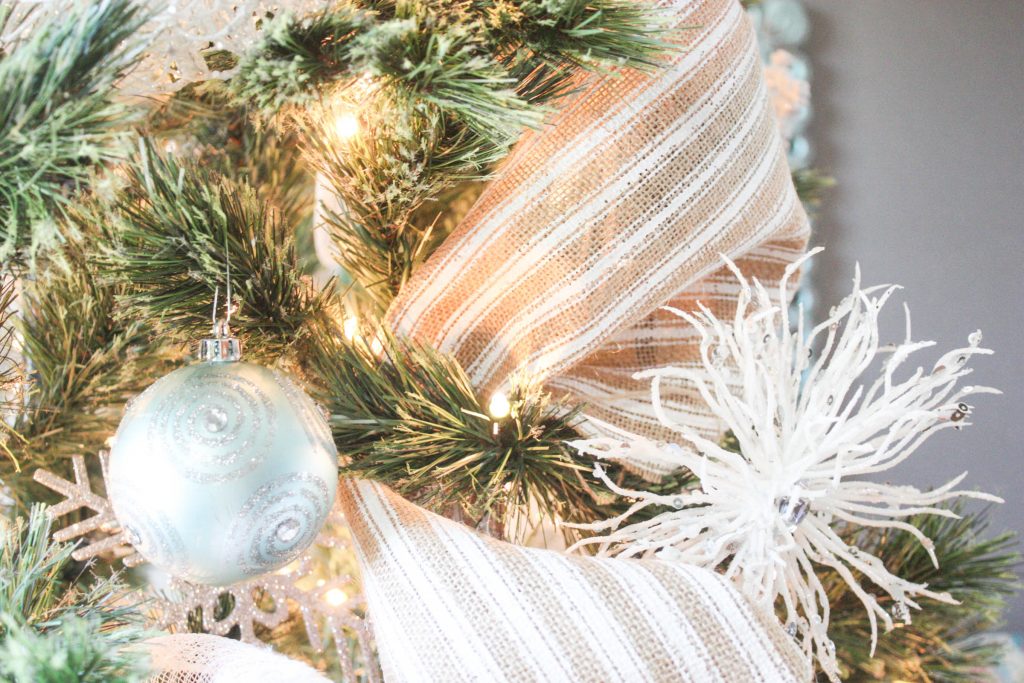
After I have used all of my actual ornaments, I go to my large "picks" to do my topper. I know people have all sorts of ways they do their topper. Some people use a star, angel, snowman hat, etc… but I like to use random large picks to stick out of the top. That is just what I like best!
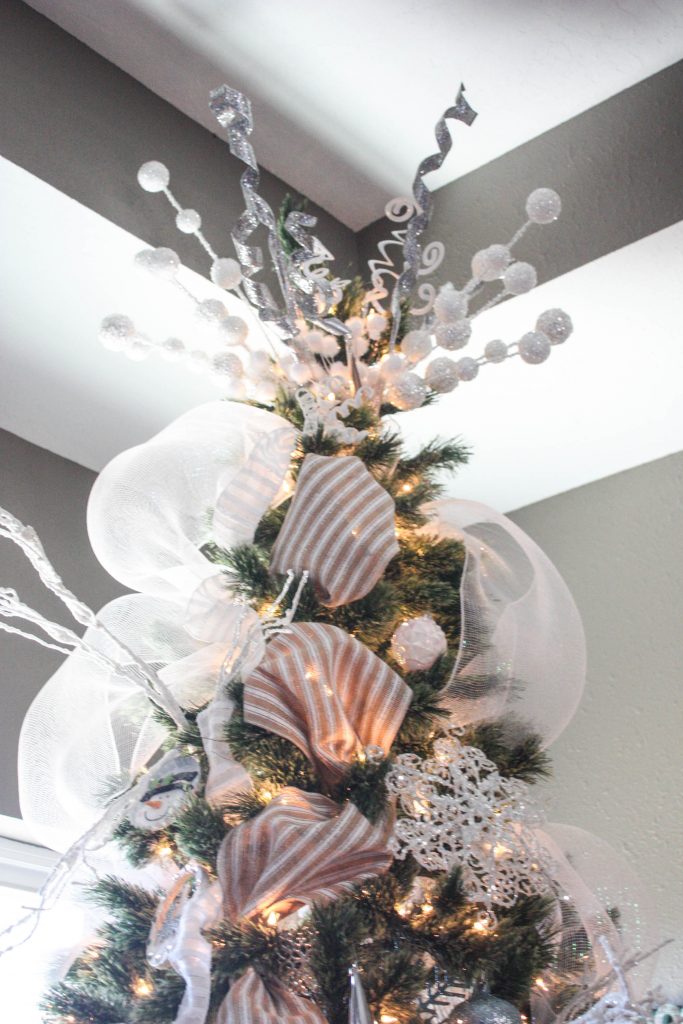
Simply gather your picks and start sticking them in the top, arranging them how you like them the best. There is no rhyme or reason to what I do- I just work with it until it looks good! I don't worry about it everything is perfectly balanced. If I like the craziness, I go with it. Have FUN with it!
If I have any large picks left after doing my topper, I simply stick them into the tree anywhere that looks like it needs a little something. It gives the tree some extra dimension.
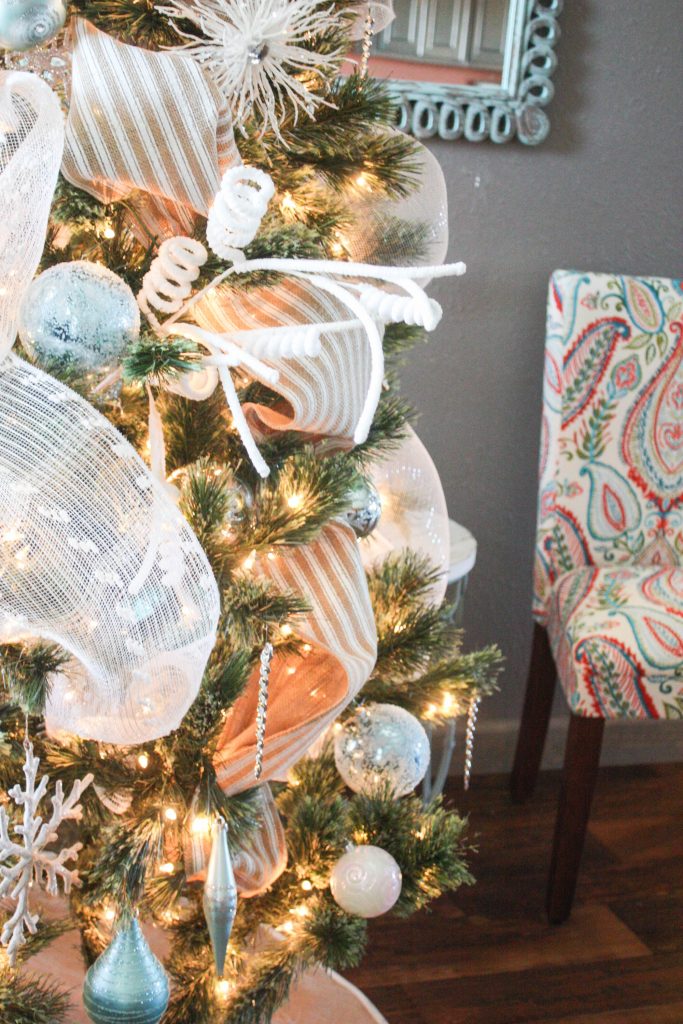
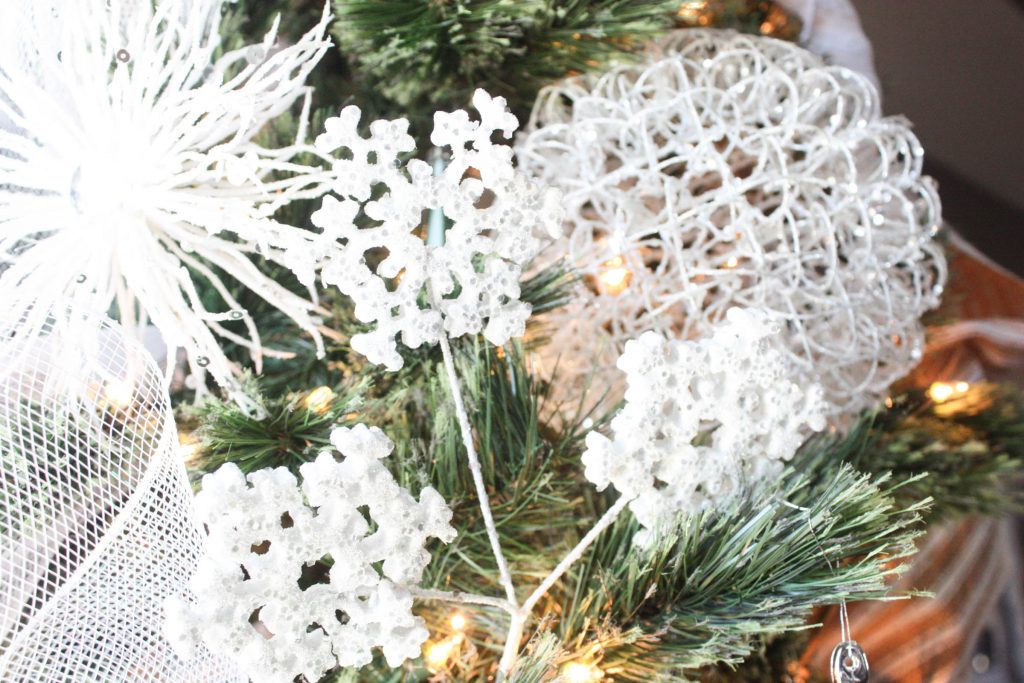
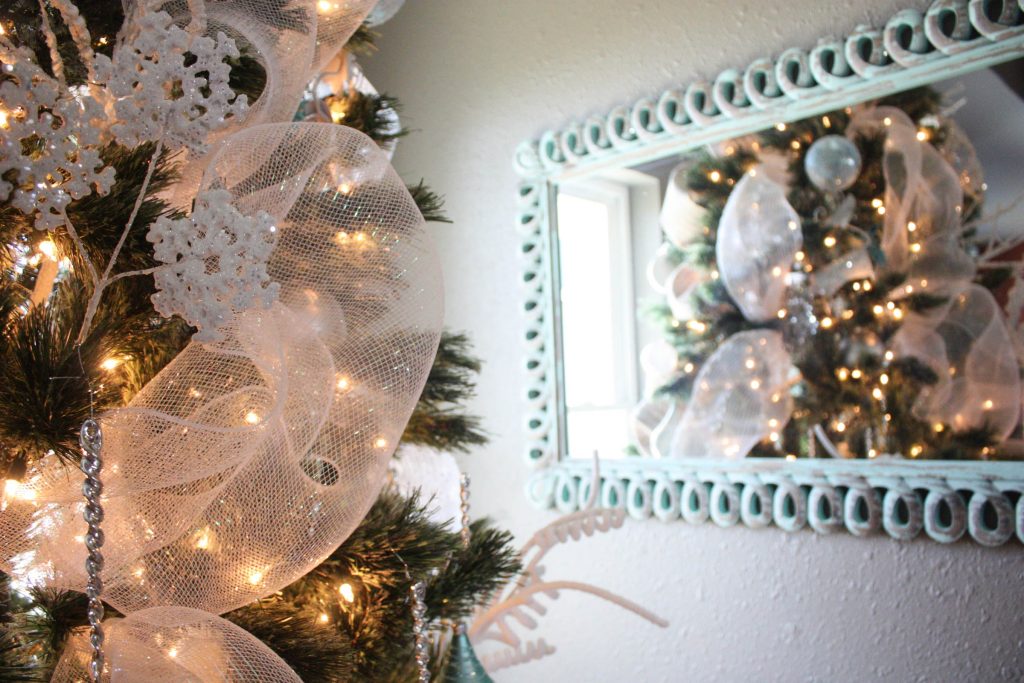
When the large picks have all been used, I move to my small picks and start sticking them in the tree to fill up any empty space. These can be true picks or simply the little clip on pieces, like the white snowflakes in the picture. These pieces are just cheap little filler pieces that help make your tree look fuller.
And voila! That is it, folks! Look at your tree and admire your work! If you don't like something, move it around! If there are empty spots, fill them in with some little bits of extra ribbon or extra cheap ornaments that you may have laying around!
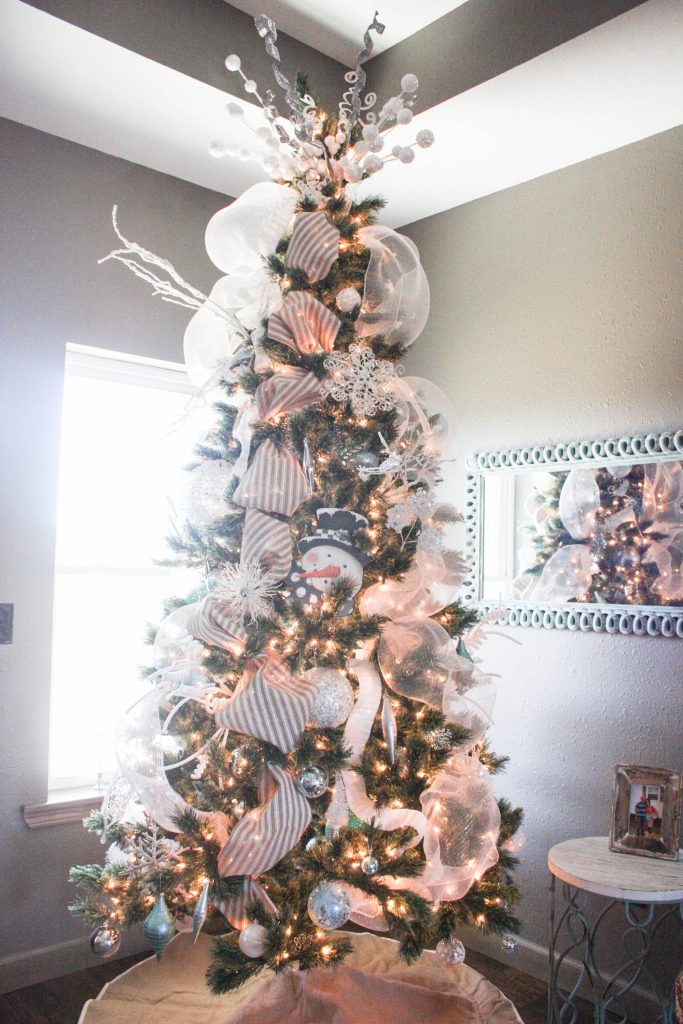
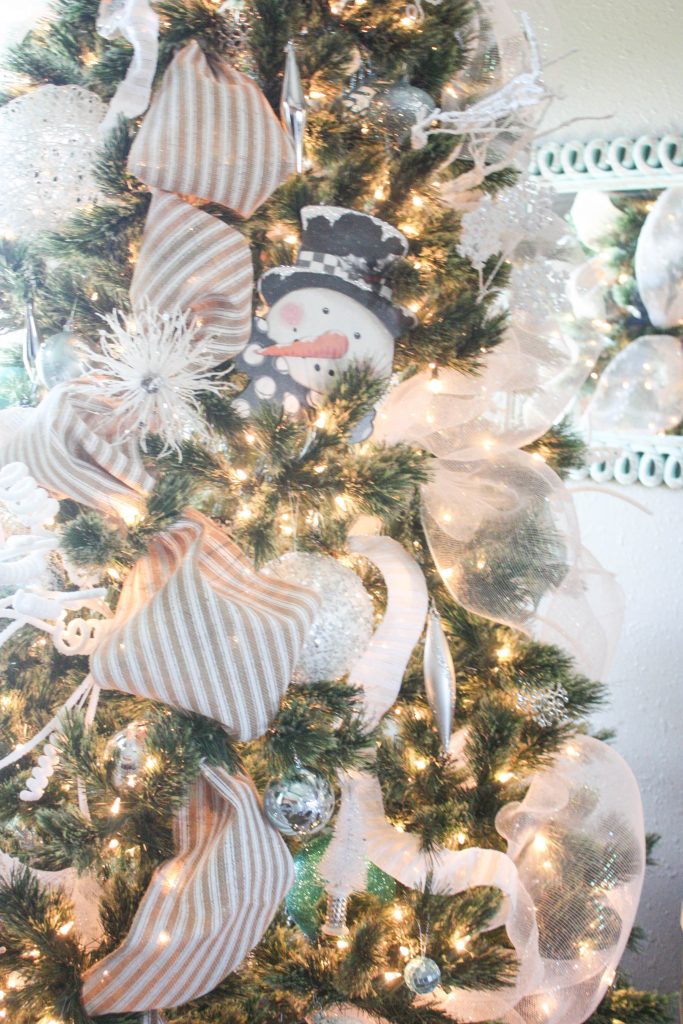
That was easy enough, right?? What do you think? Are there any extra tips you have that make decorating your tree easier?
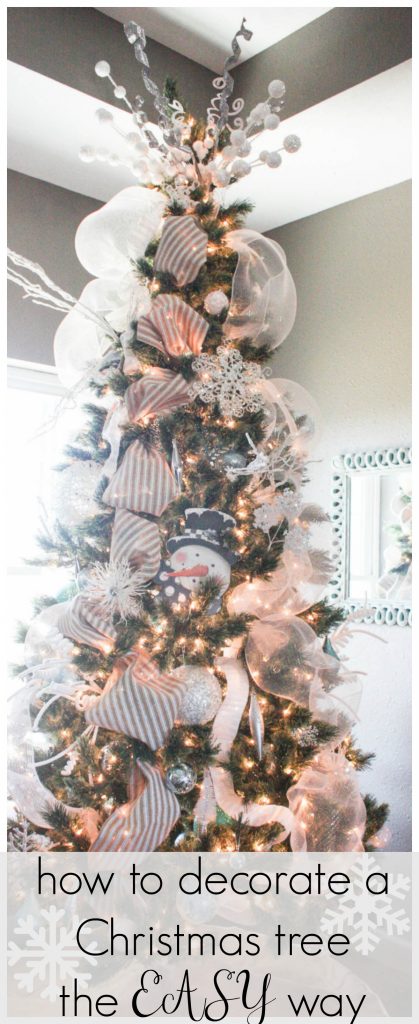
Share with your friends or PIN for later!
Follow me on Social Media!
Facebook/Pinterest/Instagram/Twitter
Christmas Tree Decorating With Netting
Source: https://www.re-fabbed.com/decorate-christmas-tree-start-finish-easy-way/
Posted by: szaboswely1945.blogspot.com

0 Response to "Christmas Tree Decorating With Netting"
Post a Comment